|
Fetch Rewards is the newest app to be reviewed in this series all about getting more for the purchases you already make. This particular app rewards you with points for grocery receipts. By grocery receipts they mean your normal grocery stores but also convenience stores, liquor stores, drug stores, and more. According to their website, the thing that sets them apart from other couponing apps is that you don't have to sort through a list of offers to select from and are not limited to a specific set of stores. I have to admit, this appealed to my time-saving self quite a bit so I downloaded it to give it a try. 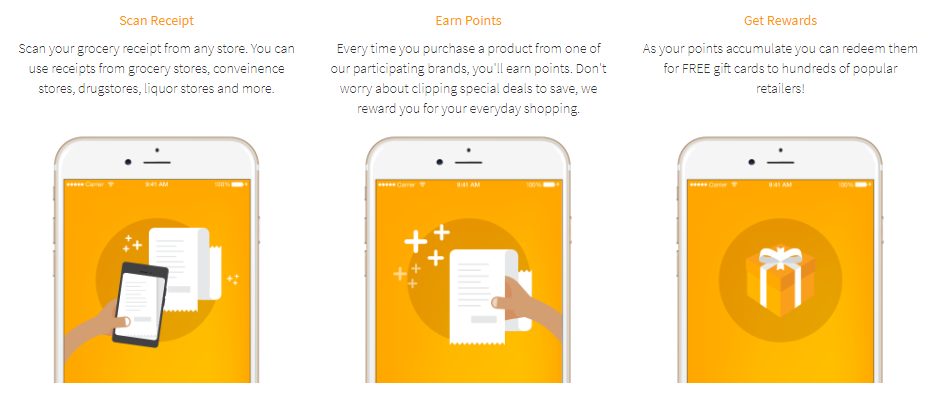 A synopsis of how the app works from Fetch Reward's website. I would say its pretty accurate. Once I opened the app I was a little confused by the layout of the homepage. It appeared to me that the point they had stressed was an outright lie- I would have to choose offers! I was quite disappointed but after working with the app for a while I realized that my original disappointment was unwarranted. The app should have a better set of instructions or be laid out a little differently in my opinion for optimum understanding of how to use all the features. Since it doesn't appear that it's going to happen right away we're going to have to do a little more explanation here than we normally would when reviewing an app.
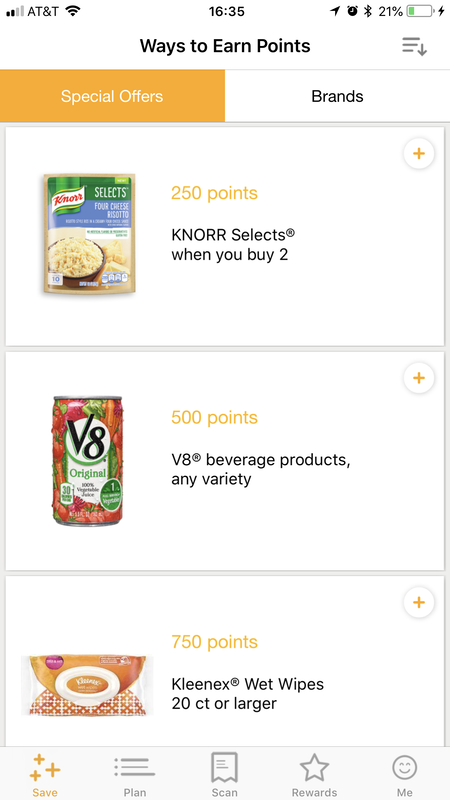
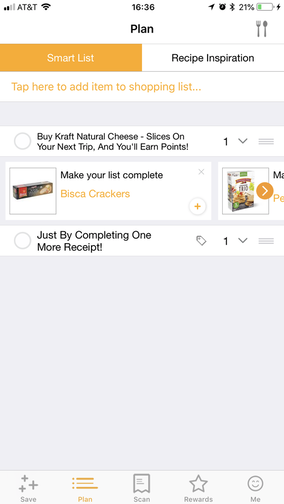
Logging into the app takes you to the first photo with a list of special offers and brands with current offers. When you click the plus sign it will add it to the "Plan" screen. This is what was originally confusing for me. I couldn't figure out how to add things from my planner to a specific receipt. The answer= you don't have to. The purpose of the plan screen is just like it sounds, you can plan purchases ahead of time if you'd like to take advantage of extra points off- but you don't have to add them to any list in order to get the points back. Sometimes when you upload a receipt they will even let you know that if you purchase something else on your next trip then you will get additional points or qualify for points with an item on your current receipt. Those items go onto the Plan tab as well for easy recall. Just check them off and a 'clear' button will appear so that you can remove them from the list for the next week. I probably should have figured it out sooner if I'm honest but now you don't need to go through that small frustration. 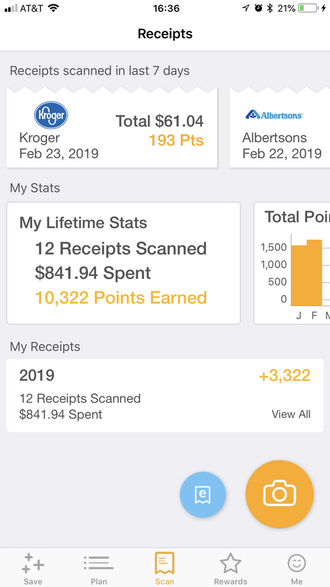 This is the Scan tab. I want to say right up front that I didn't actually spend $842 for just my food in two months. This includes a trip to Walmart where they counted the entire trip even though only a few things were grocery related as well as a purchase for work of a little over $300 that I scanned in without thinking as I was going through my receipts from the evening one night. I didn't actually get any offers on that receipt but did get an extra 250 points for adding it to the app (you get points just for uploading even if there are no offers that match your receipt, I've had either 100 or 250 point offers for uploading so far). I wanted to be 100% upfront on that so that you wouldn't think my spending was astronomical and that's why I was able to cash out on the app. On this screen you can scroll through uploaded receipts, see statistics for your points, and upload new ones. The little blue button takes you to a screen showing how to connect your email and Amazon accounts to the app for additional points. I did not do that for these (but totally should have, I had a lot of purchases for the house that were e-commerce this month as I've been fixing it up and finding better prices online for needed items) so my numbers would have gone up if I had. The orange camera button is the one that we're looking for on this screen. Click it to open the camera, align the receipt and snap a photo. That's it, no need to add additional information, do survey info (some apps require one or both of those as we'll see in later installments of this series) or etc. It will upload the receipt and you'll get a read out of the number of points it qualified in less than a minute. 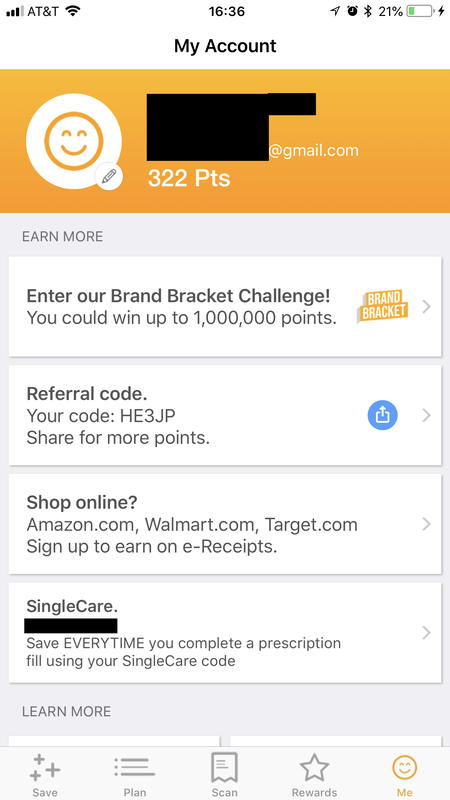 We'll come back to Rewards tab in a minute. Next we're looking at the "My Account" tab which will have your name, phone number, email and the number of points you have currently. You can also add a photo if you'd like. I hadn't done so when I did the walk through yet. Signing up for Fetch Rewards also signs you up for SingleCare which is a prescription savings plan. Prescription savings plans can be helpful if you aren't able to get good prices on your medication with your prescription drug plan or don't have one. I would caution you to be careful with how you use them though as you typically won't get credit for the purchase on your insurance deductibles and out of pocket maximums so you may pay more money in total for the year if you don't take everything into consideration. Becoming an informed consumer in our current medical environment is extremely important and is one of the things I stress to employees in my day job (HR Manager) each year. You can also adjust app settings, visit the Help Center and rate the app from this screen if you scroll down into the "Learn More" area you can see visible on the bottom of my screen shot. And now we can get to the part everyone came here for... the Rewards!
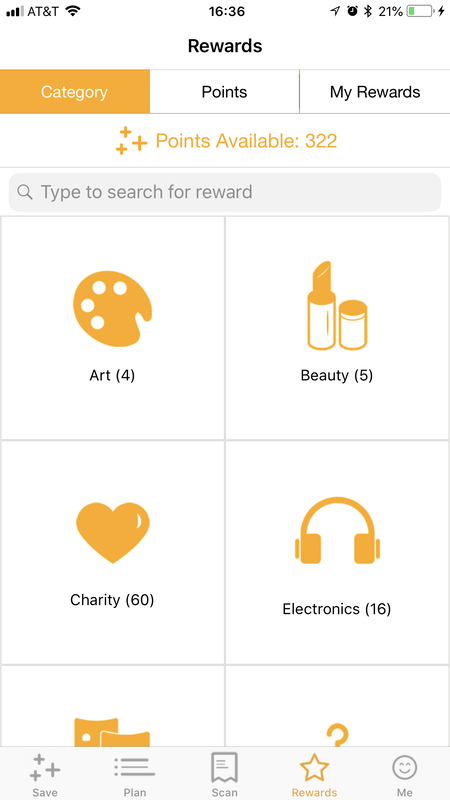
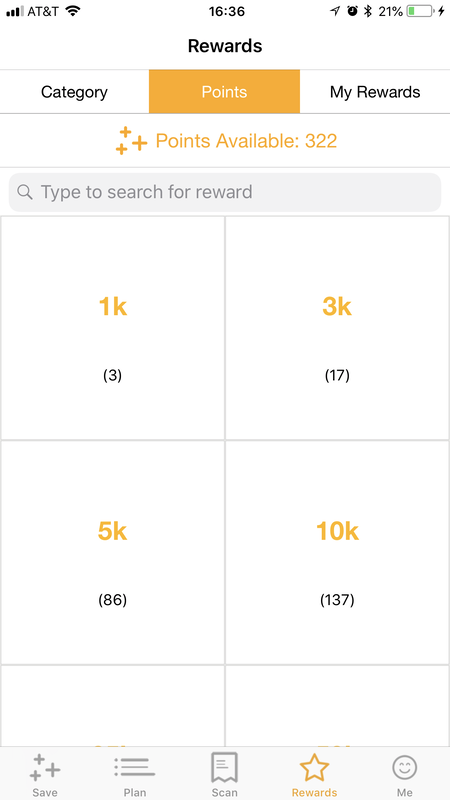
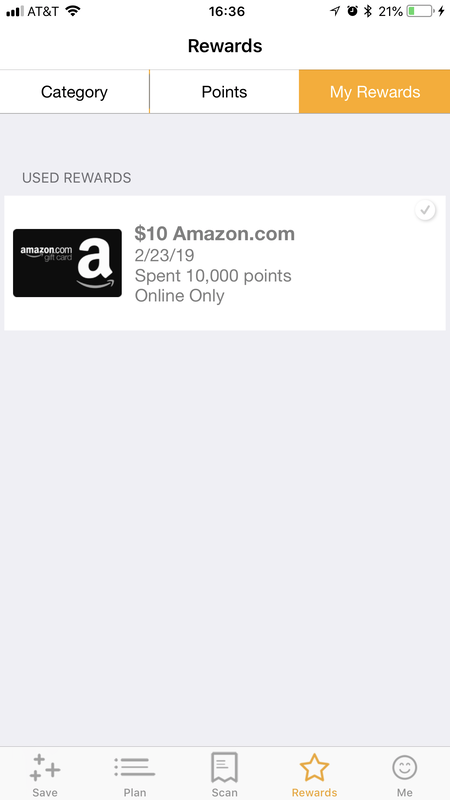
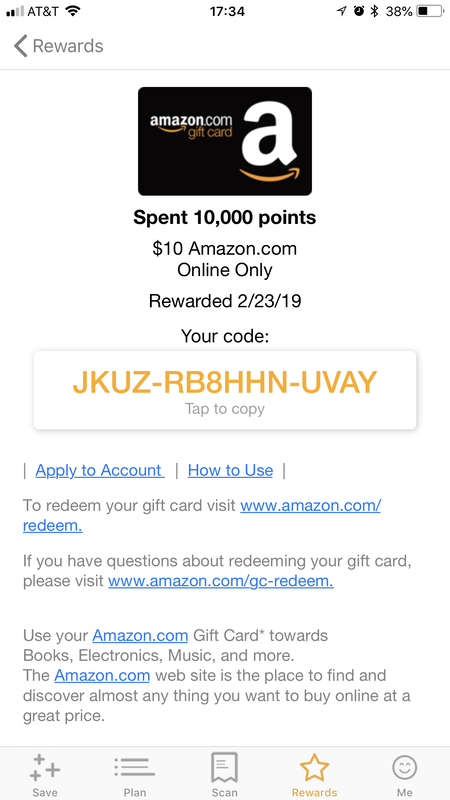
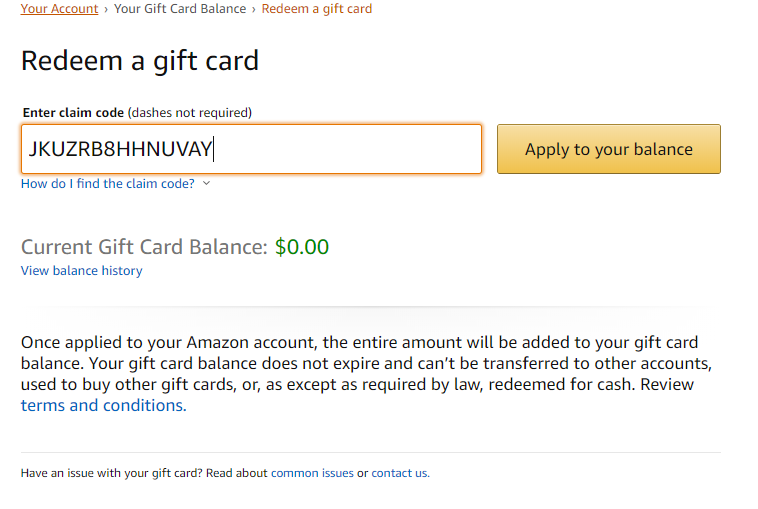
The first screen is rewards options arranged by category, the second by points level and the last is a listing of all the Rewards you have claimed. I chose an Amazon gift card as you can see.
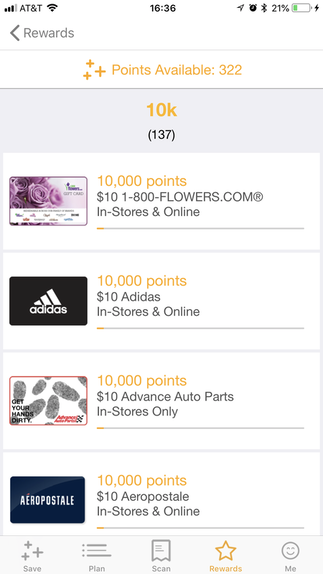
I clicked over into the 10,000 point category so that you could see a few of the rewards options. Typically its going to be at around 1,000 points equaling $1 which means that your average receipt with no additional offers on it will net you either $0.10 or $0.25. That's higher than the last one reviewed (but that one was all receipts rather than just these categories of store). Another neat thing is that they allow you to donate to charities if you don't want your cash back. I haven't seen this feature elsewhere but think its lovely.
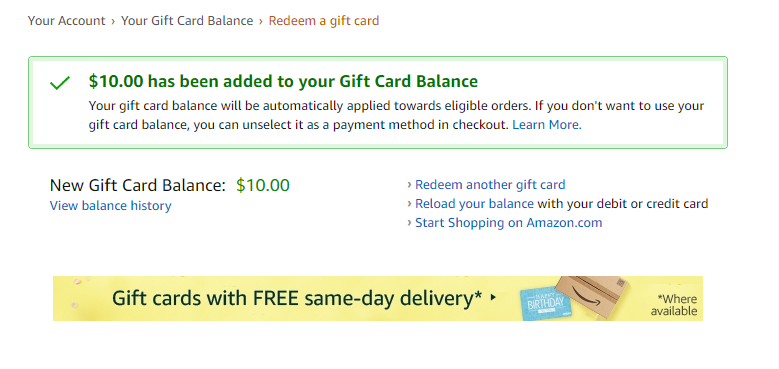
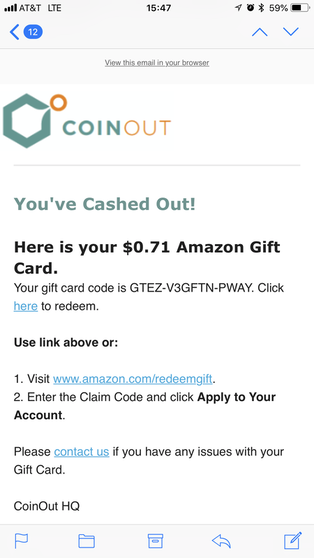
And as always- proof that I actually got the reward they promised me. As for what I think of the app... I like it. I wish it was either better laid out or explained for first time users but other than that its actually really simple to get points and I earned an average of $5 per month using this app for grocery spending that I was already doing. If I bought more name brand items I would be getting more money back from them but that's not how I shop personally. I like to buy mostly fresh vegetables, meat and the occasional seasoning packet or canned or frozen veggie from the inside aisles but most of my shopping is done on the outside edges of the store where few coupons or offers are available. It's nice that I can still get a little bit of money back on even these kinds of purchases though. Staying at this rate of rewards earning would put me at about $60 a year in money I didn't have to do anything for other than give them a photo of my receipts. An easy trade for me. This app is one that will be staying on my phone. If you're interested in trying it out and want to get 2,000 bonus points after you upload your first receipt just use my referral code: HE3JP Until next time,   I'm back again to tell you about another money-saving (or in this case, earning) app so that you can be sure it is legitimate- and decide if its worth your valuable time- before you download and try it yourself. This time I tried out the app CoinOut which seemed too good to be true from the description. They claim that you can get money for your receipts with no minimum payout and no gimmicks. While I went into it thinking it was going to be an epic disappointment I was pleasantly surprised to find that they were exactly as they presented themselves. A quick, bulleted run-down of what they offer and my experience with each:
All in all this app appears to be all its representing itself to be and is one I'm going to be keeping on my phone and uploading to when I upload my ibotta and ReceiptPal receipts every few days for sure. It took me less time to earn money on this one than it has ReceiptPal or ReceiptHog (review of this app is still in progress) and the cash out process was super simple so its got my vote for 'work' during CSI or on a lunch break. On to the walk through!
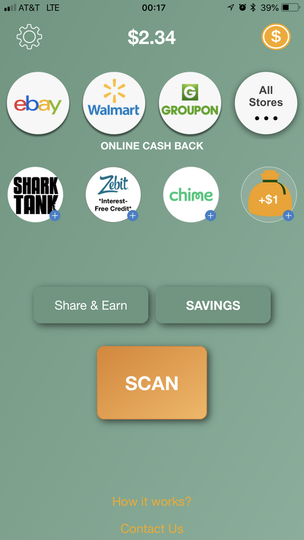
Once you open the app you will see this simple green screen. Clicking the orange "SCAN" button takes you to the photo on the right where you will align the receipt and scan it into the app. Its really as simple as that.
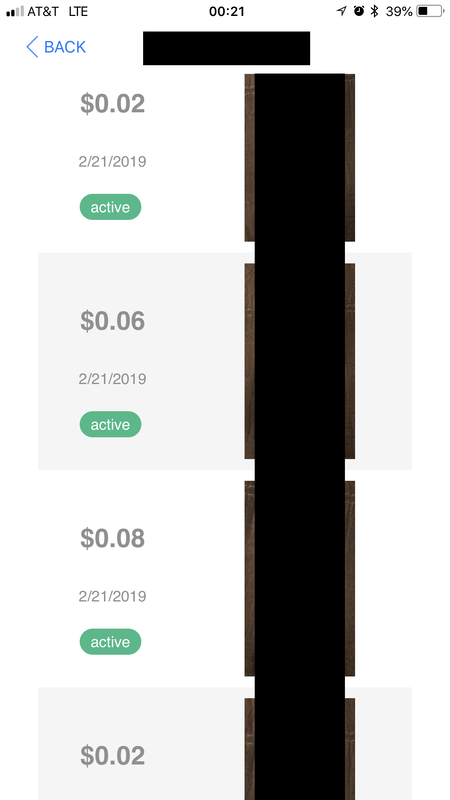
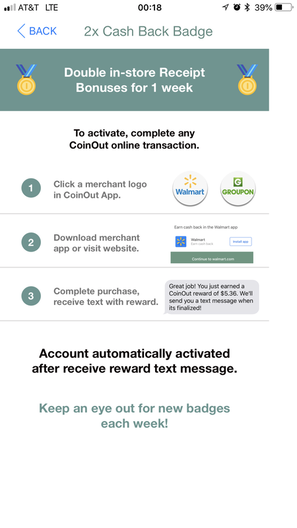
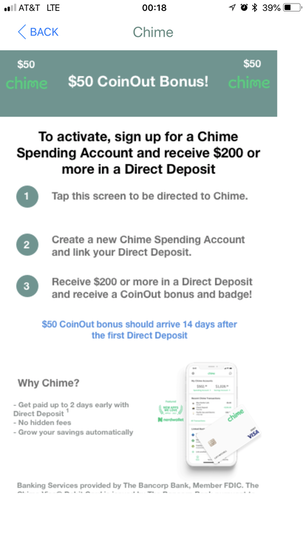
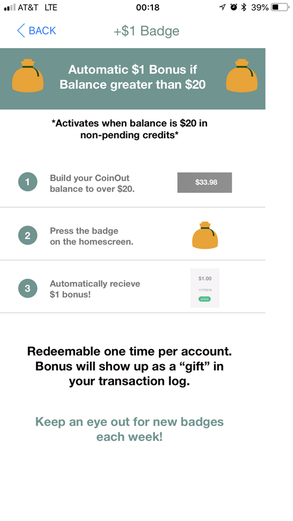
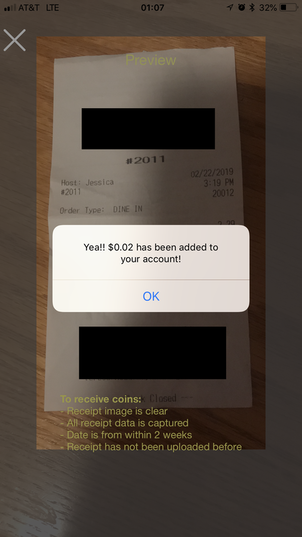
Again, sorry for blocking info but this store is around the corner from my place so blocked out the address and phone number get. *shrug* But yeah, $0.02 went into my account for this Wendy's receipt or a few dollars. I already showed you what happens when you click on a badge above when discussing them so I won't show you again but I will show you the row of icons above it. Those stores open for you to shop and get coins for shopping there as well. I haven't had opportunity or need to shop online really but I will try out this feature in the future.
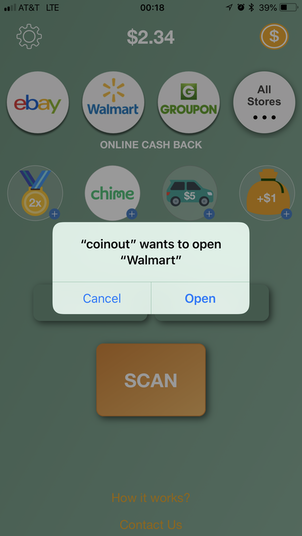
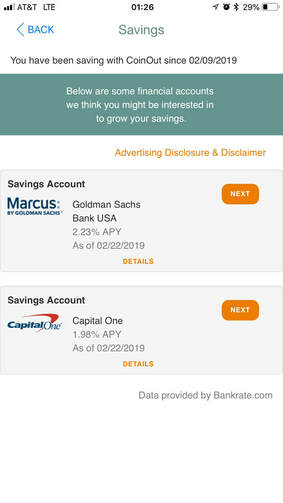
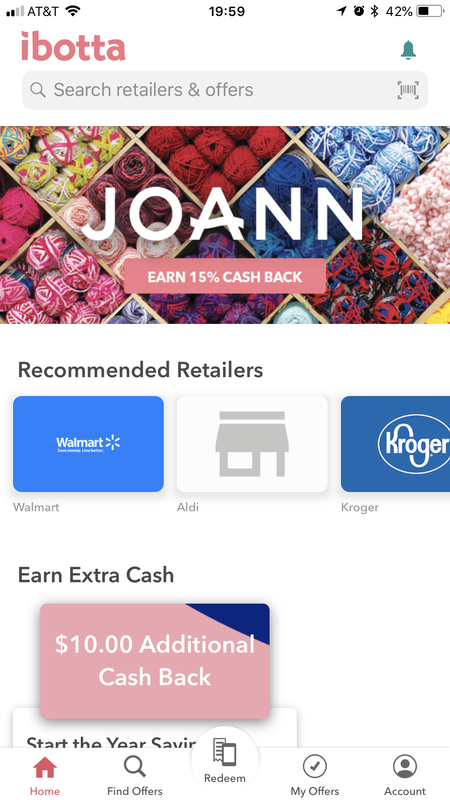
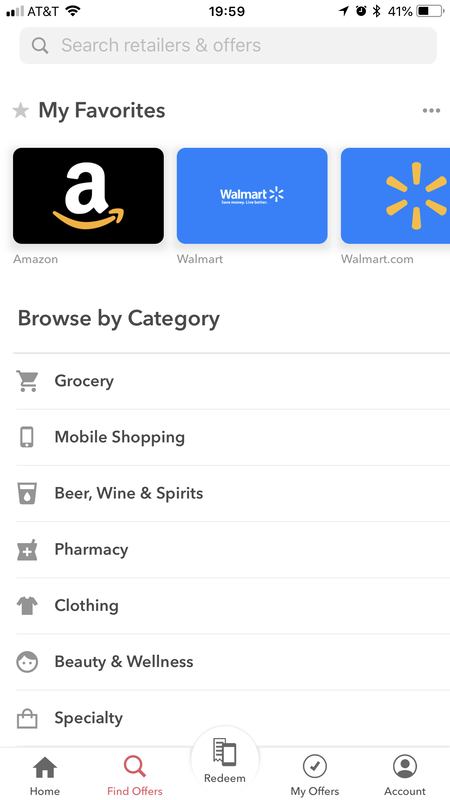
The last 2 screen grabs wrap ups this walk-through. Its a where you go when you hit the "Savings" or "Share & Earn" buttons. Savings is a list of suggested investment apps and savings accounts to deposit your money in. You can transfer it anywhere but they are giving you options if you want somewhere new. The Share & Earn area is their referral page. Currently you get $0.50 for referring someone who joins CoinOut. Speaking of referrals, if you're interested in trying out this app click over their webpage here or search them in the app store. My referral code is RCZ9JND if you don't mind supporting me in creating more content like this. It doesn't cost you anything and earns me a few extra coins which is always lovely. Until next time,   This month's app trial was Ibotta. I downloaded it years ago but never really used it as the location I was living in didn't have many store options (I was on a military base in the middle of nowhere). This time I took advantage of the app and earned about $10 in less than 2 weeks. That's pretty awesome in my mind so I won't be forgetting this one post weekly shop this year. I would equate Ibotta with couponing in that you get money back on items you purchased at the grocery or other stores. First you choose the location you shopped at then simply scroll through the offers checking off anything that you purchased. Sometimes you will need to watch a quick 10-15 second video or answer a survey question in order to add the offer to your list but most of the time the process has only taken me a couple of minutes per receipt. To add more cash back to your list you can scan through available options before you leave for the store in order to max out cash back by choosing brands that are available or picking up staples you may normally get another time while they have a larger coupon. For instance, I picked up a lipstick that I normally would have held off on until it was completed gone while there was a $2 coupon which stacked with a sale at the store made it cost next to nothing. I've now got a couple of them sitting there waiting for me when I need them. OK, time for a quick walk through. When you open the app you will see any additional offers available and a list of your recommended retailers. I'll look through this screen every now and again but I'm pretty habitual in my spending habits so typically skip right over to the the 'Find Offers" area.
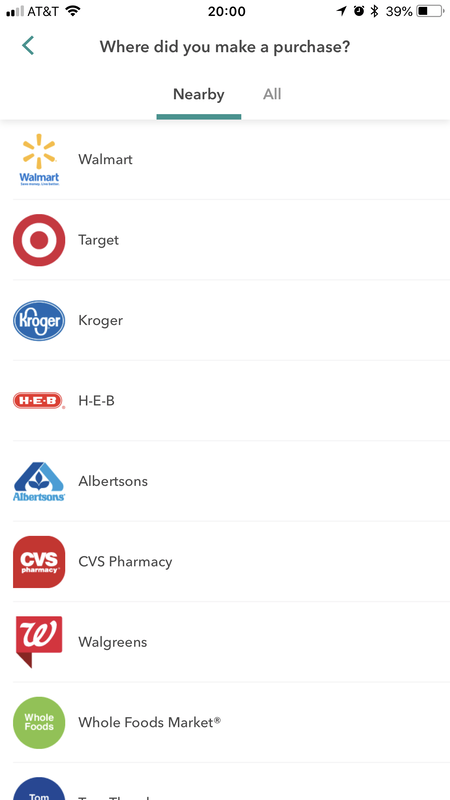
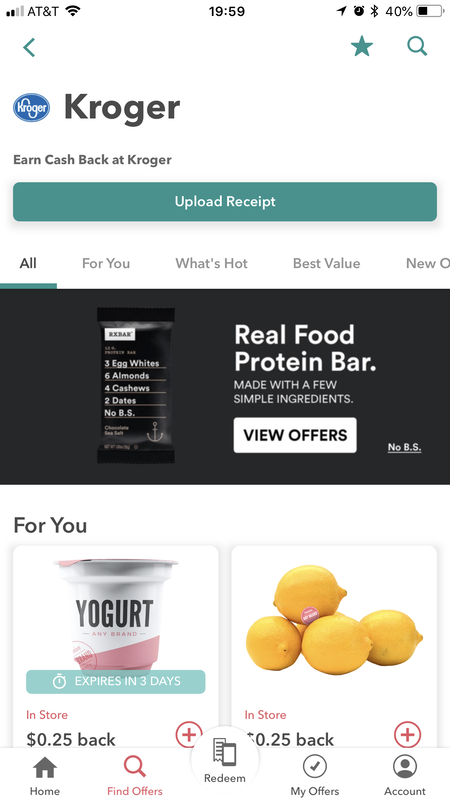
Scroll down to the location I shopped at... in this case Kroger. And just start clicking away at things I purchased or plan on purchasing.
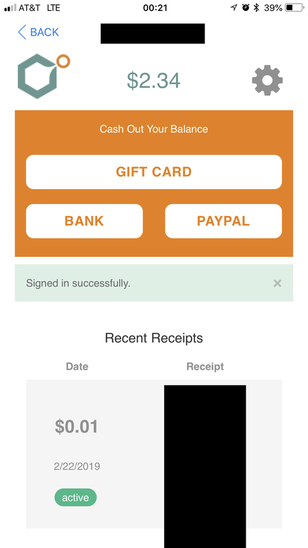
Below are two examples of purchases I made this month for examples. You'll see that sometimes there are even bonuses just for going to the grocery store and uploading the receipt. If its $0.25 a week that's still over $10 back in addition to normal coupons every year.... this year I'd be on track to earn over $200 back from Ibotta. That's a nice chunk of change and can help fund my Christmas travel plans!
Now, payouts... you can cash out once you reach $20. Currently I'm sitting at $9.45 waiting to be paid out this time as you can see below. Cash out options are PayPal, Venmo, and a variety of gift card options. You can also get money for referrals and bonuses for everyone in your friend group hitting markers such as: 10 offers and $10 redeemed in a certain month so there is opportunity to add a few dollars on each month in addition to your normal redemptions. Further, there are in app purchase deals if you know you are going to be searching for an item such as flowers from 1800flowers.com or a Fire TV Recast, both of which are options listed this week. 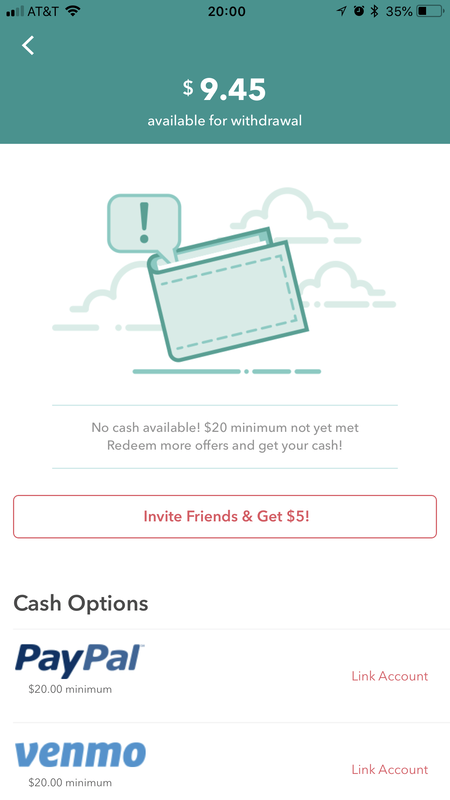 I would definitely suggest keeping this app on your phone for a little passive income, especially if you already coupon as you can stack those coupons with cash back for even more savings. To download click over to Ibotta and download the app. If you don't mind using my referral code (nkbmjfu) I'd appreciate it... as a perk, you'll get $10 closer to your first payout! Until next time,   Chances are you have a smart phone and spend quite a bit of time on it. In this series we're going to be going through some ways to make your smart phone pay for its own data plan. Over the next few months I'll be trying out money making apps, coupon apps, and other similar programs that can either save you or make you some extra cash. The first app we're going to be chatting about it Easy Shift, one I've been using on and off for about two years now. What exactly is Easy Shift? What will I have to do?Essentially, its a market research app that pays you to complete small tasks at various retail stores for a few dollars each. Typically the tasks, called "Shifts" will involve taking photos of an aisle or aisles and/or finding specific items to see if they are being sold at that location. You may also be checking prices, promotional materials, or noting what items are grouped together. The average time to complete a task ranges from 10 to 30 minutes (based on the shifts in my area) and pay is $2 to $20 per task. I've never been asked to make purchases at a store to complete a Shift but some people have and have stated that they are reimbursed once the shift is processed. Easy Shift was created by Quri, Inc. and is available for Apple and Android devices. Go to www.easyshiftapp.com to download the app. Now for the review... How much will I make?This can vary quite a bit unfortunately. If there are only a few shifts available near you on a specific day then it will be difficult to get enough well paying shifts to make it worth your while but then other days you may open the app to see dozens within a few blocks of where you're going shopping anyways. Those are the days I reserve as may as I can and spend a couple hours knocking out shifts. For example, I just opened the app and only see a few shifts near me currently... not really worth the time to run around and try to make $25 over the two hours they would probably take based on locations but there's one with $6 plus $0.20 per display found just a few miles from me that I could easily grab on my way home from work with fairly little effort or time. That will pay for my gas to/from work easily. Easy Shift is one of my go-to apps if I need to make a little bit extra money to add something small to my budget without shifting priorities. Its a quick way to make $50 extra on a day off if there are shifts near locations I'm going to be already. Last time I used the app I made $68 for an afternoon of taking photos of drug store shelves for market research. 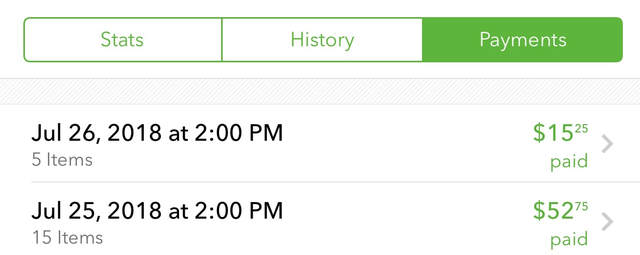 How and when will I get paid for my Shifts?This is the big perk as far as I'm concerned... unlike with other apps there is no minimum payout amount so you get paid only 48 hours after your shift is processed! Processing can take a few days but is often done within just one so you can get your money before the next weekend pretty easy. It may take a little longer for reimbursements from purchases (I've never had to be reimbursed so I'm not 100% here) but with my experience with their payment time I would highly doubt it. All payments are made to PayPal so you don't need to give them any banking information and you won't pay any fees to then transfer it to your bank account (or use it for your Netflix bill the next month straight from PayPal!). Who can use this app?Anyone with an iPhone or Android phone who is at least 18 years old (some Shifts may require you to be 21 or have a printer but they seem to be fairly infrequent from what I've been able to get Reserved), This is one of the ones that I've never taken off my phone and fall back on when I need a little extra gas money. I made $108 in my most active two weeks and the shifts were all along my route to other places I wanted to go. Like I said, I made $68 in a few hours when I put my mind to it a few weekends ago so I think its really what you make of it (and if they have Shifts available near you at that time) and definitely something to keep in your back pocket in case those concert tickets you've been wanting go on sale.  |
Archives
October 2022
Categories
All
|


 RSS Feed

© COPYRIGHT 2015. ALL RIGHTS RESERVED.